Monday, 18 March 2013

Zestful Vibe - Darkroom Door


Oh how I've longed to visit Luna Park since I was a little girl!  Well, I may have never been there, but getting to play around with Darkroom Door's Sydney Vol 1 stamp set and the 'Luna Park' stamp in particular, has been a lot of fun!

There's quite a bit of layering in this first postcard.  I started with a page of text from a vintage book and layered it with gesso, the Polka Dot background stamp (lime and orange ink), more gesso and then inked up a star stencil randomly with lime ink.  I mounted my work onto a postcard sized card and stitched a grass like pattern with lime thread along the bottom left edge of the postcard.

Next I inked up the Luna Park stamp with VersaFine orange ink and stamped it on white paper, smudging the edges of the image with apricot ink and affixed it to the postcard.  I stencilled six more of the large stars onto white paper with lime ink and stamped these with various text found in the Sydney Vol 1 stamp set.  Four were stitched into place on the postcard and the remaining two were set aside to create the beaded embellishment.    


The word 'Sydney' was created by randomly inking Alphabet background stamp with orange and red ink and stamping it onto white paper.  The required letters were then cut out and stitched into place.


The small dot accents were created by inking up Candi dots with apricot, orange or lime ink and then they were stamped with sections of text or images found in the Sydney Vol 1 stamp set.  'Fun' is found in the Simply Circles stamp set.


The small heart circle from Simply Circles stamp set was also used to create the beaded embellishment.  Scraps of silk and ribbon were added to complete this hanging  postcard.


This second postcard began in a similar manner.  I gessoed some vintage text (one edge folder over), stamped Polka Dot background stamp with lime ink, added another layer of gesso and finally stamped the Postal 3 Up frame with black ink.  Next I created a mask using scrap paper and the Postal 3 Up frame stamp, so I could add a layer of lime ink to the centre of each frame.

Two of the buildings from Sydney Vol 1 were stamped onto white paper with black ink, trimmed to size and layered onto two sections of the frame.

I made the 'Sydney' oval label by stamping 'The Rocks' twice using lime ink.  I cut out the first image, then I swiped over the entire surface with lime ink and added the 'Sydney' stamp to the centre of it.  Next,  I cut away the outside and centre of the second image, layered it on top of the first one and stitched it into place.


The 'Sydney Definition' was stamped in orange ink along the folded panel and stitched into place.  A section from Sydney Vol 2 filmstrip was added to the third frame.  More dot accents were created using the same method as the first postcard.  A scrap of silk was stitched into place and the hanging embellishment added to complete the postcard - the heart circle can be found in the Simply Circles stamp set.


Saturday, 9 March 2013

Paperbark, Australian Animals and Darkroom Door


I've had the most wonderful time playing with Darkroom Door's new Australian Animals Vol. 2 stamp set, along with some paperbark taken from the paperbark tree in my front yard.  It's the first time I've experimented with paperbark and the texture is quite remarkable.  Although the bark is quite fragile, I was really pleased with the way I was able to stamp and stitch with it.

The Dress...
I layered some pieces of paperbark together onto white textured card to create the skirt and bodice of the dress.  I then stamped the kangaroo onto another small section of paperbark and stitched it in place.  The straps of the dress were formed from black cotton thread and gunmetal coloured beads.  I made a knot between each bead and stitched the strap into place on the card.  
The rest of the embellishing was kept simple... I layered the dress onto textured cream card, added a zigzag stitch down the right side with black thread, affixed the postage stamp and then stamped the word  'Sydney' from Darkroom Door's Sydney Vol. 1 stamp set to the lower lefthand corner with Brilliance Lightning Black ink.  A quick swipe of the edges of the card with Lightning black ink and this project was complete!


A close-up of the stamped paperbark... the texture is awesome!


How much can a koala bear?  Aren't they just one of the cutest animals on earth!

Once again I went for a little wander in the garden... I was actually looking for gum leaves, but they were way too big, so I was very pleased to find these leaves and nuts on my Dad's bottlebrush tree.  They're just the perfect size for this project!

I stamped the koala, also found in Darkroom Door's Australian Animals Vol. 2 set, onto white textured card with Onxy black VersaFine ink.  The lower edge of the card had been punched with a doily pattern.  I mounted this onto a piece of kraft card along with some paperbark and stitched it in place with straight and zigzag stitches.  Next, I added the leaves, twigs and nuts (stitching some of the twigs in place).  Final embellishments:  another piece of paperbark stapled to the top left corner and the word 'hugs' from Darkroom Door's Simply Circles rubber stamp set (which was stamped on white card with Brilliance Lightning Black ink).  Finally a quick swipe of black and lightning black ink around the edges of the card added finishing touch!

Darkroom Door products I have used for these projects:

Tuesday, 26 February 2013

A Moment of Time - Darkroom Door


Here's an ATC I've created using some of Darkroom Door's new Sydney paper products combined with their Photography stamp set.

I layered some vintage numerical table paper onto an ATC sized card and roughly covered it with gesso.  When dry, I stamped the quote from the photography stamp set onto the left hand side of the ATC with black ink and stamped the filmstrip edge with Brilliance pearlescent gamma green ink on the right hand edge.

Next I layered some silk fabric scraps and a section of the Sydney Vol 2 filmstrip, stitching the image into place with orange thread and stamepd the word 'proof' with gamma green ink onto the image.  I then sewed a section of the Sydney wordstrip onto the ATC and added additional stitching around the edges of the card to complete it.

Darkroom Door products I have used for this project:


Monday, 25 February 2013

Sydney - Darkroom Door

Darkroom Door has also released a fabulous collection using lovely images from Sydney, Australia. 


When I saw these images I knew the first thing I wanted to do was to create a postcard, as Sydney is a destination I'd love to visit again... soon!  It's been way to long since I've been there!

I started with a slightly textured white card (postcard size) and stamped the 'World Map' background stamp onto it using VersaMark watermark ink.  Then I swiped over the card with 'neutral grey' Pan Pastels.  I then stamped the 'light value metre' from the 'Photography' stamp set twice on the background with black ink.
Using the 'Sydney Vol 1' stamp set, I stamped the 'Sydney definition' onto a scrap of grey scrapbooking paper with black ink (stitching it into place onto the postcard with black thread) and stamped the name 'Sydney' onto the postcard using red ink.  I continued to stitch around the edges of the postcard with black and red threads.

Next I layered an image from the Sydney montage sheet and two images from the Sydney Vol 1 filmstrip, along with two vintage postage stamps, sewing things into place as I went along.  For the final touch I added two small sections of ribbon, some blank filmstrip and a section from the Sydney wordstrip to the postcard.

The Darkroom Door products I used in this project are:  


Sunday, 24 February 2013

Bright Blossoms - Darkroom Door

Darkroom Door has released many gorgeous new products this past week.  The 'Bright Blossoms' Collection is stunning and I've had a lovely time playing with some of the 'Bright Blossoms' paper products to create these two ATC's.


The images are beautiful and I decided to keep the composition of each ATC quite simple, so as to enhance the floral images from 'Bright Blossoms Montage'.  

I sprayed the white textured card with Glimmer Mist (Jingle Bells).  When dry I added a thick layer of gesso around the edge of the ATC and did the same with the floral image.  I also swiped gesso randomly on both pieces.

I layered glassine paper (painted randomly with gesso), vintage lace and a section of 'Bright Blossoms' wordstrip onto the ATC.  I stitched each end of the wordstrip in place and then sewed a pearl button to complete the ATC.


When making this second ATC, I sprayed white textured card with Chalkboard Glimmer Mist (Astrids), added a little Versa Magic ink (Pretty Petunia) to add depth of colour and then dabbed a small amount of gesso onto it.  I also swiped gesso around the edge of floral image and set aside to dry.

I layered the floral image, a section of 'Bright Blossoms' wordstrip and glassine paper (painted randomly with gesso).  Finally I stitched lace and pearl button to complete the ATC.


The Darkroom Door products I used for this project:


Thursday, 7 February 2013

Every Inchie Monday - Ruin


Ruin is the theme of the week for Every Inchie Monday... this is my little twist on the theme... 'sin' can 'ruin' many a thing.  I seem to becoming more and more aware of my sinful, selfish nature, but also more and more aware of God's amazing grace.  I'm so thankful for Him and for His loving, gracious and forgiving nature!

The image is by ARTchix, there's a tinsy bit of stamping and a scrap or two of fabric to add a little texture.

I'm back at school and finding it very difficult to stick to having a daily playful time in my studio, so I'm trying to be more playful in the classroom!  I've had a wonderful start to the school year, but it's been hard to shake the cobwebs from my poor brain after having a seven month break from it all!  I'm just looking at doing my best one day at a time!  

I hope be back and blogging more regularly very soon!

Thursday, 31 January 2013

Grace - CJS39


I worked on Jamie Dougherty's tutorial (Creative Jumpstart No. 39) a few days ago and have completed three different backgrounds on tags.  I'm really enjoying working with paint and am beginning to feel a little more confident to play and have a go and let myself get more messy!  I've snatched a bit of early morning playtime (before I go to work) to collage the tag with the first technique.  I've used some of my new rubber from Artistic Outpost and a little image from Darkroom Door.  I really liked the results I got from this technique and can't wait to really get stuck into some art journalling in the near future.

Another big discovery for me, whilst participating in Creative Jumpstart,  has been finding how amazing Ranger's non-stick craft sheet actually is.  I've kept mine in a box for years... I've been more inclined to work from my cutting mat, but wow, it's so easy to clean up!  I love it!

Anyway, there's a little more journaling on this tag.  I've written about grace and a recent experience I've had of someone lovingly extending grace to me, when it was so undeserved.  How amazing and humbling is that?!

Tuesday, 29 January 2013

Every Inchie Monday - Hut


Wouldn't it be lovely to have a little hut right on the beach?  

This is my take on Every Inchie Monday's current theme, 'hut'.  Once again, I've used some love ARTchix Studio collage image goodness to create my whimsical beach hut!

Oh how I'd love to go for an early morning swim today, but alas it's off to work for me.  My lovely, long holiday is over!


Monday, 28 January 2013

Evidence Of Life

'Evidence of Life' ATC

Here's another ATC design I created when participating in a Darkroom Door ATC exchange a while back.  I used one of my favourite stamp sets, 'Photography' and the 'Tree Line' photo stamp to make them.  It's a little hard to see in this scan, but there is a real twig stitched into the lower film strip and a few layers of stamping in the background.

Life... a precious gift... 


Sunday, 27 January 2013

Beloved - CJS7


Louise Nelson's tutorial for Creative Jumpstart No. 7 was amazing!!!  I totally loved the effects she has been able to achieve on her scrapbook layouts.  I attempted to make a similar background to the one Louise demonstrated (step by step) and once again used products that I already had on hand.  I encountered a few problems along the way and I have not been able to achieve anything like the crackle effect that Louise has created.  I'm blaming the products I used, but also think that I would need to practice this technique a few times before I'd see improvements.  However, I think it would be worth the effort, so I might need to go shopping!

This is a small layout (roughly 6" x 6")... I struggled to put this together today too.  Having not had much experience with scrapbooking I found it difficult to get started .  Anyway, once more I've kept the composition very simple and just added some fabric scraps left over from the making of my wedding gown. 

Saturday, 26 January 2013

Home Sweet Home - CJS18


I loved learning the speckle/spackle? technique during Natalie Kalbach's 5th tutorial over at Creative Jumpstart No. 18.  I can see myself having a lot of fun making more of these kinds of backgrounds.  However, I really struggled to know what to do with this particular background once I'd made it (I think it was the colours that threw me), so I looked at it for days and days without finding any inspiration.

I was determined to do something with it today... I had a few disasters as I tried to get started.  I knew I didn't want to cover up the background too much, as I'm keeping the tags that I make as a reference for the future.  In the end, this is what I finished up with... I'm not even sure that I like it!  I've run out of time today to keep working on it, but I might look at it with fresh eyes tomorrow?  The most important thing in the end, is that I had a little creative fun this morning and that is a blessing!

Friday, 25 January 2013

Sweethearts

'Sweethearts' ATC

I participated in Darkroom Door's 'Love Letters' ATC exchange and you can see the other participants ATC's here.

I used a number of Darkroom Door products and a bit of layering to create my ATC's.  
Stamps:  Champs Elysée stamp set and Floral background
Collage Image:  Love Letters Montage

I really enjoyed making these ATC's, even the fiddly sewn love heart!  And it's always exciting to receive ATC's from other artists too!  

Have you ever participated in a Darkroom Door ATC exchange?  If not, why not give it a go!  The themes and additional information can be found at Darkroom Door's blog.


Thursday, 24 January 2013

Beaded Bliss! - CJS16


Anna Björklund left us with fun and fiddly challenges at Creative Jumpstart No. 16.  I now have seed beads everywhere and I've needed to develop my fine-motor skills (or I really do need glasses) to complete this tutorial - just in time for my return to school!
Time and a calm/relaxed state of mind was needed whilst working on these techniques, oh and good lighting too!  I had to improvise a little with this first piece, but was pleased with the end result.  The lovely vintage image is from October Afternoon.

I really love the effect of the strung out beads here.  The gorgeous image is from ARTchix Studio.  The words in both tags are from Collections.

This technique caused me a few problems, but I had a lesson to learn here - patience!  The vintage image is by Collections.

I totally love the end results of each of the techniques.  Thanks so much Anna for helping me to slow down and practice patience!  

Wednesday, 23 January 2013

A Splash Of Colour - CJS20


Janna Werner shared a fantastic Creative Jumpstart tutorial (no. 20) and I loved using her techniques to create the backgrounds seen on these tags.  I've added some simple collage to the tags, just to see how the backgrounds might look in artwork.


Here's another great stamp designed by Colette Copeland and produced by Stampington.  I really love this flower image!  It's fun to stitch too!


A scrap of silk and a few buttons add a simple point of interest to this tag.

It's all about Darkroom Door's Robot Collection on this tag!  Another very simple composition and a great tag for boys of all ages!


There's just a touch of stamping from Darkroom Door's Paris Collection.  The Eiffel Tower image is from Typo.


Tuesday, 22 January 2013

Painting Up A Storm - CJS12

This Creative Jumpstart tutorial, presented by Catherine Scanlon, has been, for me, the most challenging one of all thus far!  I occasionally dabble with paint.  I add a dash of gesso here or a splash or watercolour there, but that's about as far as it goes!  So as I watched the video for the first time, I was tempted to skip the lot and move onto something easier!  Each of the three techniques had their own challenges and I spent a lot of time working on these pieces.  I persevered because I knew it would do me good to stretch out of the comfort zone a little more and try to develop my confidence with paint!  I have hesitated to show you the end results this time round - they are not masterpieces - but I said I would share it all, so I will!

I really like hidden journalling!  This journal entry was all about how amazingly good it feels to be strong on my feet again, after recovering from my mystery virus!  

And another reminder to play!


Every Inchie Monday - Stone


Every Inchie Monday's theme for the week is 'stone'.  I'm always taken aback when I see an incredible sculpture carved from marble.  The amazing talent and skill of great sculptor's that enables them to create such beautiful three dimensional works of art from a lump of stone leaves me in a state of awe and wonder.

All collage images once again are by ARTchix with another dash of stamping.

Monday, 21 January 2013

Let It Go! - CJS10

Nathalie Kalbach demonstrated a 3rd technique in Creative Jumpstart No 10.   It was a twist on a technique that I have used before and it was great to approach it from a slightly different angle.  I achieved mixed results and would like to try this again with different tools and cooler weather.  


 One of the really wonderful things I'm rediscovering through CJS, are some lovely products I've stashed away and forgotten about.  For instance, see that daisy stamp?  I don't think I've used it in the past 10 years, but I was thrilled to find it, as I thought it'd be the perfect image for this tag.

The journalling, unintentionally, got lost on this tag... in the end I needed to add layers to achieve a better balance.  Joel and I have recently been talking about forgiveness and how difficult it can be to forgive yourself of some mistakes you've made in the past.  You know, the ones that haunt you, the ones you can't quite let go of for a final time.  The ones where the damage has been done and there seems no possible way to repair it.  I have a few of those kind of mistakes, I guess we all do, and in the end, I've found it's best to try to 'let it go' and place all that anxiety into the hands of God, resting in His forgiveness and trusting that He will work all things for His glory.  And when that anxiety creeps back in again, you realise you've got to 'let it go' once more!

Sunday, 20 January 2013

A Romantic Thing Or Two - CJS5


Sharon Laakkonen brought a whole pile of inspiration with her tutorial in Creative Jumpstart No. 5.

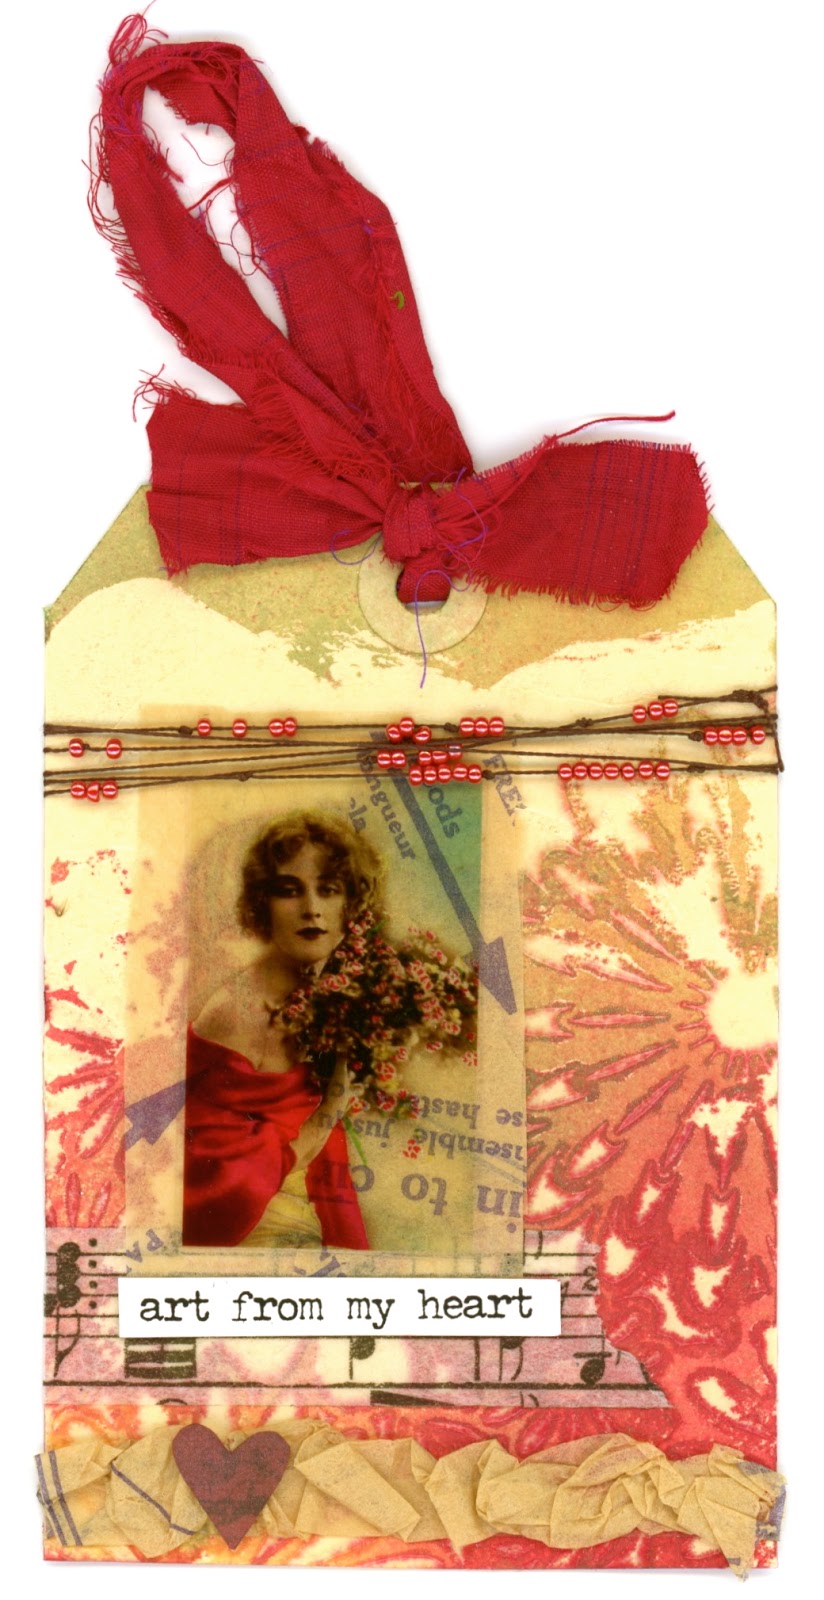
It was all about manila tags... which I too, love to use!


The collage image is from Darkroom Door's 'Love Letters' Collection.


This tag is a bit of an odd one out as far as the colour palette goes, but it is what it is.  This is where technique number 2 was taught.


Another touch of romance from Darkroom Door.  I dream of receiving a love letter or two one day!  (Yes, Joel does occasionally read my blog, so it's a BIG HINT).

I enjoyed the technique taught here, but once again I didn't have all the right products.  I made do with something else and I know in time the background will all crumble away, so it's great to have a photo of it before it all falls part!  I really like the technique and I plan to use another medium to see if I can get a longer lasting result!


Sharon threw in a bonus technique.  I loved her idea and I'm sure to use it again!